It’s true. The best plugins use up the most CPU! It’s just the way it is, and that won’t change anytime soon.
And we all like to use the best plugins — and sometimes many instances. So what do we do? Buy a new computer each month? Buy monster Octo systems that cost tens of thousands of dollars?
No. Regardless of how big a system you put together, you will still run out of CPU at some point. So what do you do?
Max out your buffer size
Render tracks
Freeze tracks
Use UAD
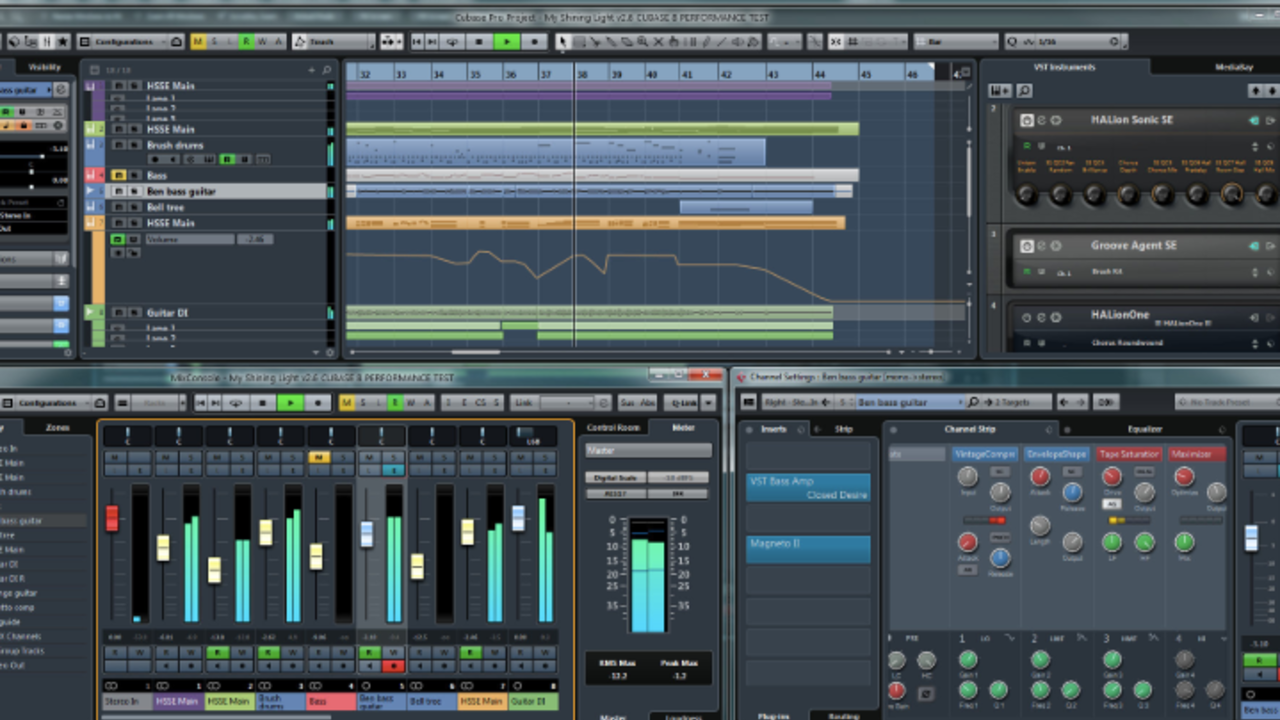
Use Slate Digital Plugins
Bounce stems before Mastering.
MAX OUT YOUR AUDIO BUFFER SIZE.
In the audio preferences in any DAW, you will find a window to see your buffer size. When recording, keep it a low as possible to minimize latency, but when mixing and mastering, max it out!
This increase will give the CPU “more time to think” and will increase latency from the moment when you hit the spacebar until you hear the sound, but who cares?
Bigger buffer sizes eliminate pops, clicks, and glitches that happen when the CPU is struggling to keep up with big track loads and lots of fancy, DSP-hungry plugins. Just double check yours from time to time. Sometimes “updates” reset the value, so check it now and then.
RENDER TRACKS
In the Next Level Mixing II course (part of our Ultimate Producer Bundle), I got back to some of my old UAD Classic Console channelstrip workflows, which I love, But my UAD quad can’t handle keeping lots of instances of these very DSP-intensive classic console channels virtual.
So, I just quickly “channelstrip processed” elements and then rendered the track with the UAD classic console plugin.
Rendering tracks with filters, saturation, compression and EQ as you build the mix might seem scary at first. You are sort of guessing what you will need from each sound and committing to it.
I think there are two important things to bear in mind here:
Don’t do anything too extreme, e.g., very extreme filtering, EQ or compression, just look to improve the sound.
Don’t worry. You will be able to make relative virtual contextual changes with your less DSP intensive plugins like Fabfilter, or Izotope.
Rendering takes time, but you can also use it as a moment to rest your ears, stand up, or do some Pilates. (Your source track is saved, disabled, and hidden, in case you want to go back, make a change and re-render. Relaxing thought.)
And you will be the most ripped mixer ever!
FREEZE TRACKS
Freezing tracks is like rendering tracks. Freezing bounces the track, disables the plugins, but does not hide the track, so you have very quick access if you want to unfreeze and make changes to the inserts.
The nice thing about rendering, however, is you get a fresh set of empty inserts that can remain virtual, unlike freezing.
And be careful when freezing elements that are side-chained to external sources. Some DAW’s do a good job at handling this request, some don’t. Check your work, so you don’t have a ghost in the machine.
Bottom line: I render a lot early in the mix, and freeze only toward the end of the mix when absolutely necessary.
USE UAD
Yes, UAD is expensive, but in addition to the excellent plugin line, you get extra dedicated DSP power via the UAD hardware. This extra processing power handles the UAD plugins and does not tax your native system.
That being said, it is quite easy to run out of UAD DSP. So I recommend rendering your UAD plugins whenever possible so that you have enough headroom to use your really nice, fancy UAD plugins virtually on busses.
The Ampex ATR 102 is a center piece of our mixing and mastering workflow at Mix:Master:Wyatt Academy. We are always “mixing to” it. So I always need to reserve enough DSP for this magic tape machine.
In addition, I show people how to “mix to” a classic console as well, placed in front of the tape machine. My three favorite choices are the Neve 88, the new SSL E Channelstrip, and the API Vision console.
I like to run the entire mix t through these consoles in “default” mode, just for their subtle saturation and sonic footprint. So I also have to budget for a UAD classic console instance on the mix buss. (Slate also is an excellent alternative here)
In my recent Youtube video, Slate vs. UAD, I do a showdown between several Slate plugins and their UAD equivalents. So who wins, Slate or UAD?
The answer is not that simple.
In our world-famous Mix Master Wyatt Ultimate Workflow, we use a combination of UAD and Slate in tandem.
It works like this:
First use a UAD classic console to saturation, filter, compress and EQ the individual elements, rendering as you go. Then, create custom channelstrips using whatever you need on the inserts and keep them virtual for your relative and contextual mixing needs. This is precisely where Slate really shines!
I love the 1176 line from Slate, as well as the FG 401 and the Neve and SSL EQ’s. They sound very analog and are absolutely amazing! And, the best part is that they are very, very DSP efficient and run beautifully native.
The ability to keep some of your favorite analog-modeled plugins virtual is an absolute game changer, and Slate leads the way here — and keeps introducing great additions to their already impressive collection of plugins.
(A side note: If you need to run lots of tape machine plugins on a big mix, I recommend the new Tape plugin from Softtube. It has a wide variety of sound possibilities, sounds very, very “tapey” and is extremely DSP efficient.)
BOUNCE STEMS BEFORE MASTERING
I know some producers and engineers like to produce and mix with a serious mastering chain on the mix buss.
The good part about this is “you get what are you hearing” — no mastering “surprises.”
The bad part is your mix is not going to “look good naked” and its a very CPU-intensive way to go. I don’t really recommend or like this approach.
I believe in the classic approach of discrete stages of production: producer/compose, mix, then master. Of course, you can always run back and make adjustments. In fact, this always happens.
But I really think you “hear” better when things are committed and not virtual.
Stem mastering is the most perfect marriage of mixing and mastering; enough control without the clutter of too many virtual plugins — and of course the benefit of lots of CPU headroom to use your favorite fancy DSP-hungry plugins.
Big mixes happen. But it does not mean it has to be a frustrating experience.
So how do you survive a big mix? Or even thrive!
The answer is not using “cheap” or stock plugins that you are not excited about.
The answer is not building the biggest computer the world has ever seen.
The workflow for managing a big mix consists of:
Maxing out your playback buffer.
Doing an initial round of channelstrip processing with your most hungry plugins and then rendering them.
Freezing tracks toward the end of the mix, and budgeting for using a few very fancy plugins on your mix buss and other busses that by nature must remain virtual.
Creating custom channelstrips with Slate, Softube, Fabfilter, and Izotope that can remain virtual for quick and easy contextual adjustments.
Not trying to mix and mastering in the same session. But rather bounce out stems for a happy, healthy stem mastering session.
If you follow this workflow, you will be able to survive and thrive on really big mixes and get that HD sound that you are looking for by using all of your favorite, DSP-intensive plugins in the most efficient and powerful manner. Its all about workflow.
Please tell us in the comments what are your biggest challenges while working with big projects?
For more information about our world-famous Next Level Sound workflow, Click Here
Stay connected with news and updates!
Join our mailing list to receive the latest news and updates from our team. Don't worry, your information will not be shared.